Monday, August 23, 2010

Lagniappe - Memphis City Schools' Peanut Butter Bar


In high school, nobody in my social circle ate lunch. For one thing, lunch was at some silly time, like 10:00 a.m. Second, there were about 180 people to get through the line in the mere 25 minutes they gave you in which to eat. Third, nobody took their lunch, that was considered nerdy. And lastly, no girl wanted the chance of any boy seeing her actually, eat.

The exception was peanut butter bar day (and sometimes pizza day). Years after graduating and Jonesing for the peanut butter bar, I finally came across the recipe in the Commercial Appeal recipe finder. Eureka! And to once again prove I have yet to meet a pizza I didn't like, I still crave that horrendous MCS pizza...rectangle, virtually raw, ketchup tasting, overly salty mess. If you gave me a slice today I'd scarf it down in seconds...

The PB bar is a little hard to describe...a chewy texture and not much at all like a rice crispy treat, but then again, sort of. Just try it. If you like PB, you'll love it.

These PB bars are best eaten the day-of, actually right after they've cooled. You can maybe sneak a second day of shelf life out of them, but they need to be zapped in the microwave a bit to soften before eating. After day two, toss; as they'll be like rocks, but they won't be around that long most likely. Now, if I just had some Jungle Juice...

MCS - Peanut Butter Bars (adapted from Commercial Appeal recipe)


1 cup sugar

3/4 cup light corn syrup

1 cup peanut butter

3 1/2 cups of rice crispy cereal

Tools: 9x9 pan, 2 sandwich bags and cooking spray

Lightly spray a 9x9 pan and set aside. Combine sugar and corn syrup in a heavy saucepan. Cook, over med-high heat, stirring constantly until mixture just starts to boil then turn off heat and stir in PB till it's melted and mixture is smooth. Quickly, stir in the cereal till completely coated.

Put mixture in 9x9 pan. To make them smooth on top, I double up the sandwich bags over one hand like a glove and spray the "glove" and press down the mixture. Let cool about 20 minutes then cut into squares and serve. As noted earlier, best to eat up at this point so they are at the perfect consistency...they harden the more they sit around. But if you do have leftovers, go ahead and cut into squares and wrap each square in plastic wrap, and store in air tight container. Zap in microwave a few seconds if eaten much later to soften.

toni

Saturday, August 21, 2010

Lagniappe - The Pecan Ball

Sometimes the simpler the dessert, the better. Went to the Silver Caboose Restaurant on the lovely Collierville Town Square and devoured the pecan ball. Yarnell's vanilla ice cream, rolled in chopped pecans and completely smothered in hot-fudge. No reason why this can't be done at home though. Crazy-good.

toni

Thursday, August 5, 2010

#22 Berries galore

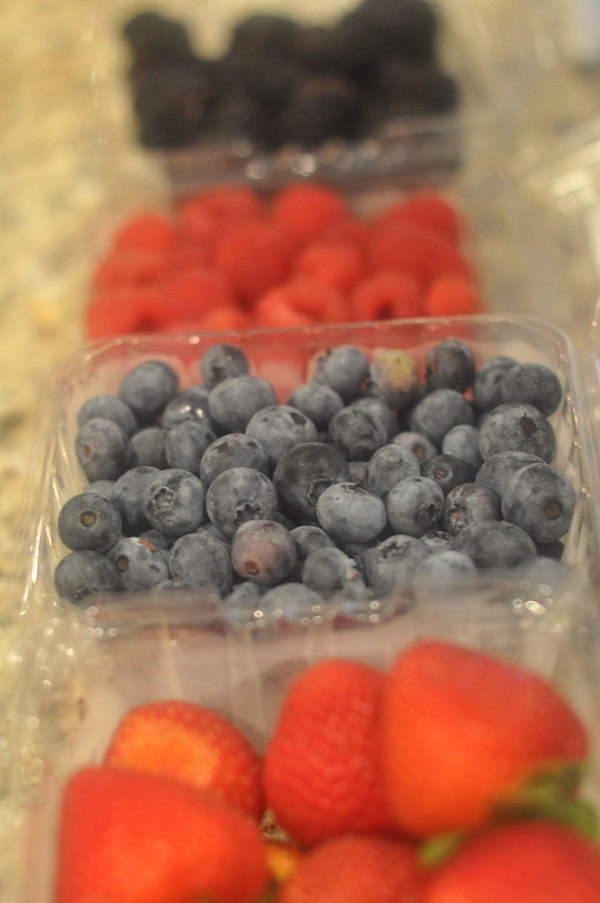
So berries were the focus of this past weekend. It’s a great food to get locally from your farmer’s market. We celebrated my future sister-in-law’s birthday and figured a Summer Berry Trifle was perfect for the get-together. For my version, I used strawberries, blackberries, raspberries, and blueberries.

berry6

You need to start this 1 day in advance, but the preparation only takes 3 minutes. Simple fill a bowl with the ice water (from recipe below) and add the pudding mix and can of sweetened condensed milk. Stir together and refrigerate overnight.

…and make sure you assemble the trifle at least 4 hours before the event. You need time for the wafers to get a little moist and the flavors to meld together.

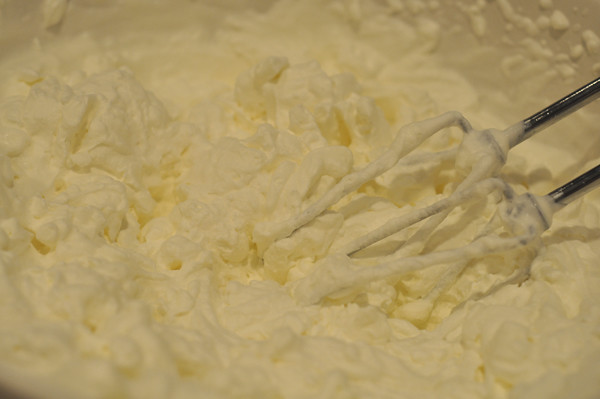
Step #2- Whipped cream: Simply beat the cream till it’s thick. Once it gets to that stage, don’t go too much longer or you’ll make butter (seriously).

berry4

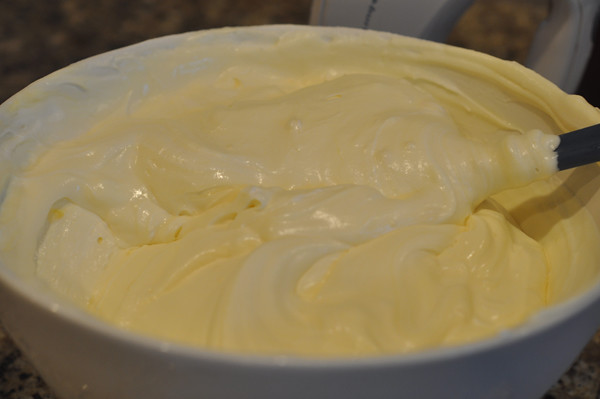
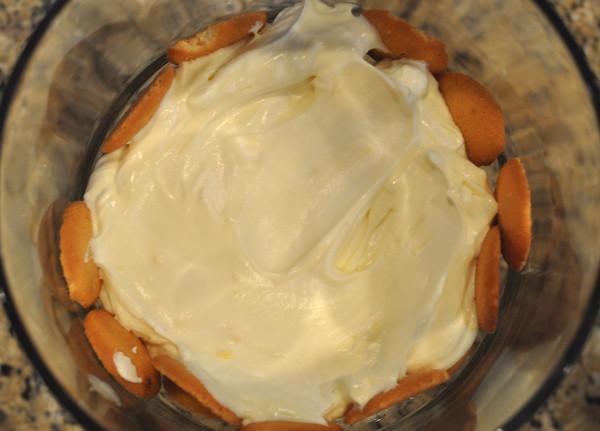
Step #3- Fold: Now using the pudding from the night before, fold it into the whipped cream. …basically, just gently stir together to you don’t deflate the whipped cream

berry1

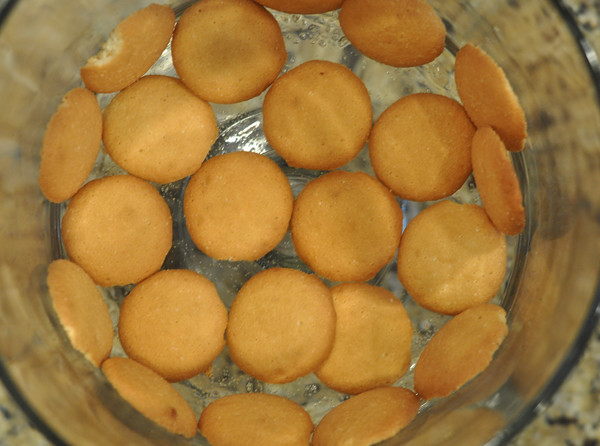
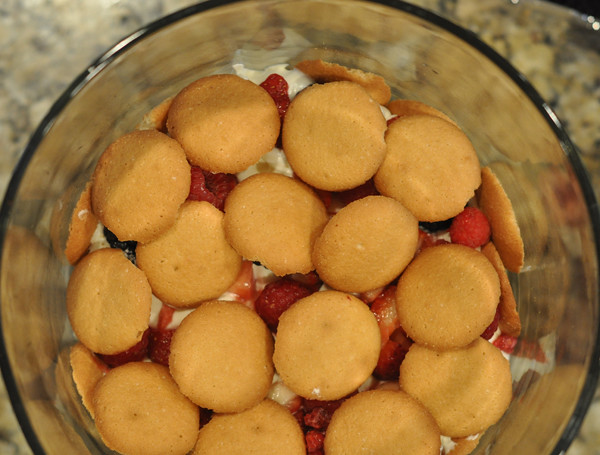
Step #4- Assemble: start with a layer of wafers:

berry2

Then spread a nice thick layer of the whipped cream mixture:


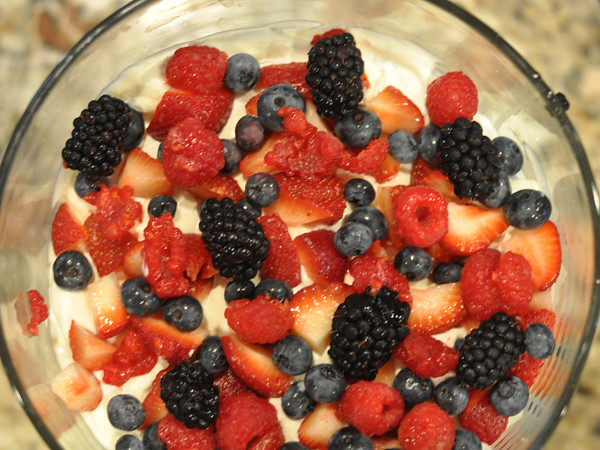
Next is the berries – be generous:


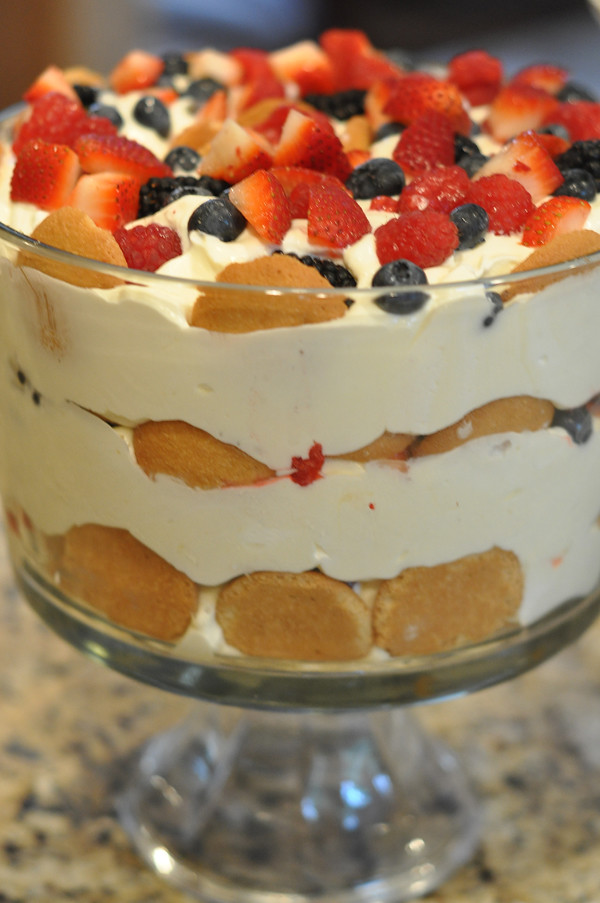
…and now repeat:

berry8

In the same fashion, build your trifle to the top. If you have leftover berries or cream, no worries – just eat them later. You don’t want this to overflow….


Summer Berry Pudding Trifle
(an adaption from Magnolia Bakery’s famous banana pudding)
1 (14-ounce) can sweetened condensed milk
1 1/2 cups ice cold water
1 (3.4-ounce) package instant vanilla pudding mix
3 cups heavy cream
1 (12-ounce) box Nilla Wafers
1 quart of strawberries, and a mix of others: I used also ½ pint of blueberries, raspberries, and blackberries

In a small bowl, add the ice water. The slowly pour in the condensed milk and mix until incorporated. Add the pudding mix and combine. Cover and refrigerate for 3-4 hours or overnight, before continuing (the pudding needs to be completely set).

In a large bowl, on the medium speed of an electric mixer, whip the heavy cream until stiff peaks form. Gently fold the pudding mixture into the whipped cream until well blended and no streaks of pudding remain.

To assemble, select a large, wide bowl (preferably glass) with a 4-5-quart capacity. Arrange a layer of the wafers to cover the bottom of the bowl and a little up the sides, overlapping if necessary, then a generous layer of the berries and layer of the pudding. Repeat the layering at least twice more, garnishing with additional wafers and berries on the top layer of the pudding. Cover tightly with plastic wrap and allow to chill in the refrigerator for 4 hours – or up to 8 hours before serving.

-------

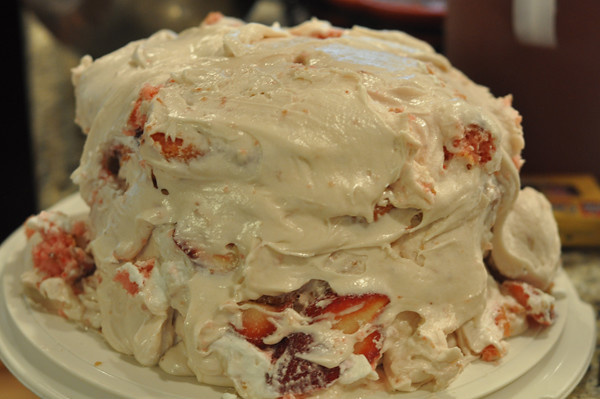
As a side-note, I wanted to let everyone know of my recent disaster in baking. Everyone makes mistakes and this is to prove it. The goal was a luscious 4 layer strawberry cake with whipped cream and strawberries between each layer and a coating of strawberry cream cheese frosting as the overlay. …things to note:

1) do not assemble in a house with a failing air conditioner in 100 degree temperature.
2) do not make a tall 4 layer cake with a wobbly foundation.
3)do not use so much whipped cream it oozes out the sides.
4) even as ugly as something may look, it actually could be very delicious (and it was) :)


rox

Tuesday, August 3, 2010

Lagniappe - Iced Mocha

I for one love an iced mocha. Please enjoy this anytime recipe that is somewhere in between the McCafe version (mine is not that sweet) and Starbuck's (mine is not that strong).

Iced Mocha Yield: 1 large
1/8 c chocolate syrup
1 heaping tsp. of instant espresso (Ferrara brand can be found at Fresh Market)
1/3 c. boiling water
1 1/2 cup of 1% milk or skim
ice (see tip)
16 oz plastic cup or glass


Pour chocolate syrup in your 16 oz. cup. Add heaping teaspoon of instant espresso powder and boiling water. Mix well.


Add milk and then the ice.


Enjoy with a pastry or on the go.


Tip: If you brew coffee normally, freeze the left over coffee in ice cube trays and use that ice for this drink. That way, when the ice melts, it won't dilute your mocha punch.

toni